
Tools of the Trade
Needles
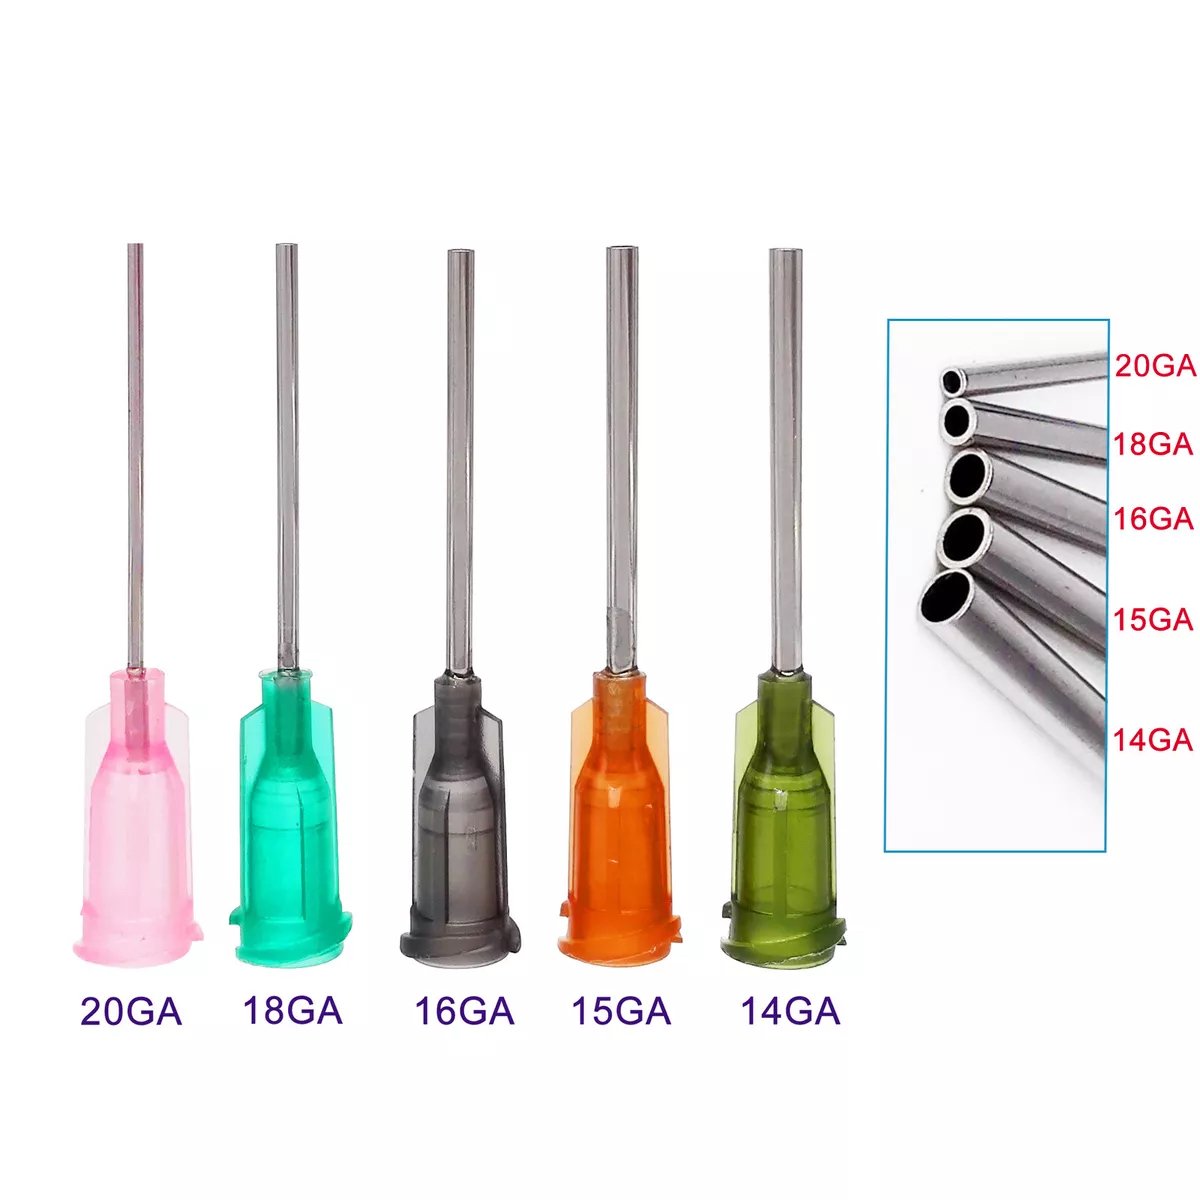
Needles are sized by gauge (G), which unfortunately does not have a consistent conversion to other metrics in IR such as French (Fr) used for catheter and sheath sizing. Guage is a measurement of the outer diameter of the needle. The inner lumen depends on the gauge and thickness of the wall of the needle. There are “thin wall” needles which allow for a larger inner lumen relative to “standard” needles. A 19G needle is approximately 1 mm in diameter. The needle size is inversely related to the gauge number, i.e., a 22G needle (~0.7 mm) is smaller than a 16G needle (~1.6 mm).
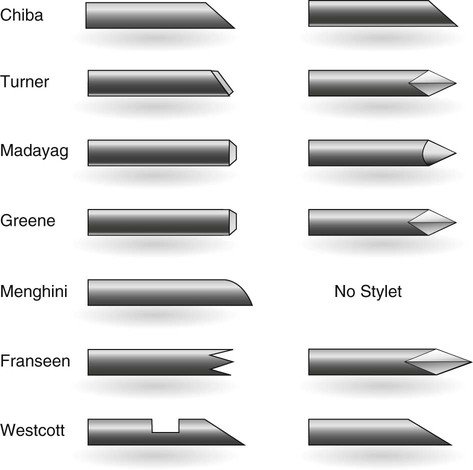
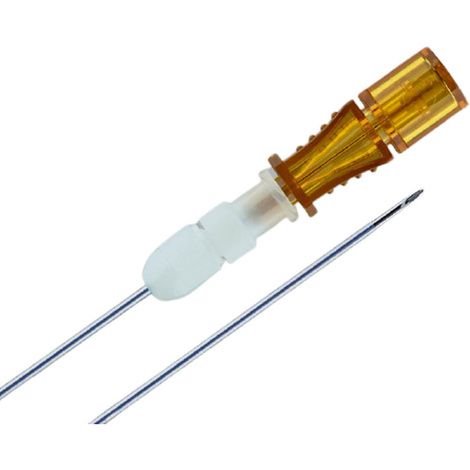
There are many different types of needles and will come in different gauges, lengths, stiffness, and various shapes to the tip (e.g. blunt, beveled, diamond, see figure 2). Some needles have characteristics that are specific for an imaging modality, for example, some needles are designed to have super echogenic tips to make them more visible with US. Some needles are standard hollow needles, while others feature an inner stylet. These are often termed a "coaxial needle," which involves an inner needle/stylet that can be extracted, leaving behind an outer metal tube, often used for biopsies.
Can also watch this video from Stanford on needle, wires, and catheters
Standard Hallow Needles
Thin wall vs standard
Common uses: injecting local anesthesia (often 25G or 30G), drawing up medications or injection samples into vials for culture (blunt tip), percutaneous vascular or other access
23G hypodermic needle for lidocaine injection
21G bevel-tipped needle in Cook’s micropuncture set. Used for vascular access.

Longer 21G thin wall, great for biliary and nephrostomy access, stiffer and more steerable but some dislike the lack of inner stylet feeling that it cores the tissue on its way in.
Menghini needle, a beveled, cutting edge needle for biopsies

Coaxial Needles
Inner stylet with various types of needle tip
Common uses: percutaneous access (e.g. biliary, nephrostomy, nerve block) and biopsies, tends to be echogenic and steerable
Chiba - steerable 30* bevel with inner stylet, good for biliary and renal collecting system access, nerve blocks, and more

E.g. 22G IN-RAD, which is a thin echogenic chiba needle
Trocar needle - less steerable diamond tip. Default needle that comes with biopsy devices and drains, e.g., Cook’s Multipurpose Drain (MPD), that can be used to place the drain directly into a collection without exchanges
Hawkins needle - coaxial system with sharp and blunt inner components, can switch to blunt to navigate around critical structures like around bowel

FNA needles - Fine-gauged needles for fine needle aspiration
Turner - 45* bevel tip to provide cutting edge
Franseen (picture below) - coaxial system with sharp inner and trephine tipped outer that cuts and collects tissue when forward rotary force is applied
Westcott - slotted 2.2 mm opening 3 mm from needle tip
E-Z-EM - Trough cut in needle tip

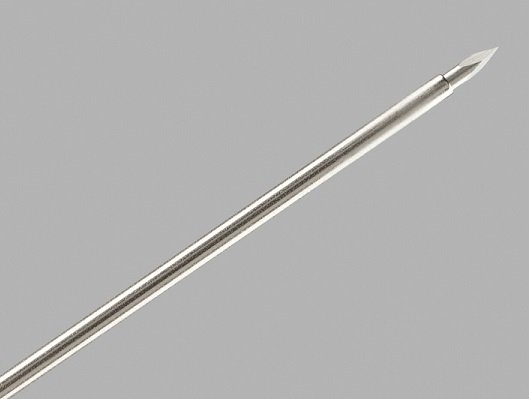
Spinal needles - come in two main versions, cutting vs pencil point
Pencil point - less traumatic with hole on side of tip, e.g, Whitacre and Sprotte (picture below)
Cutting - bevel tip with end hole, e.g., Quincke

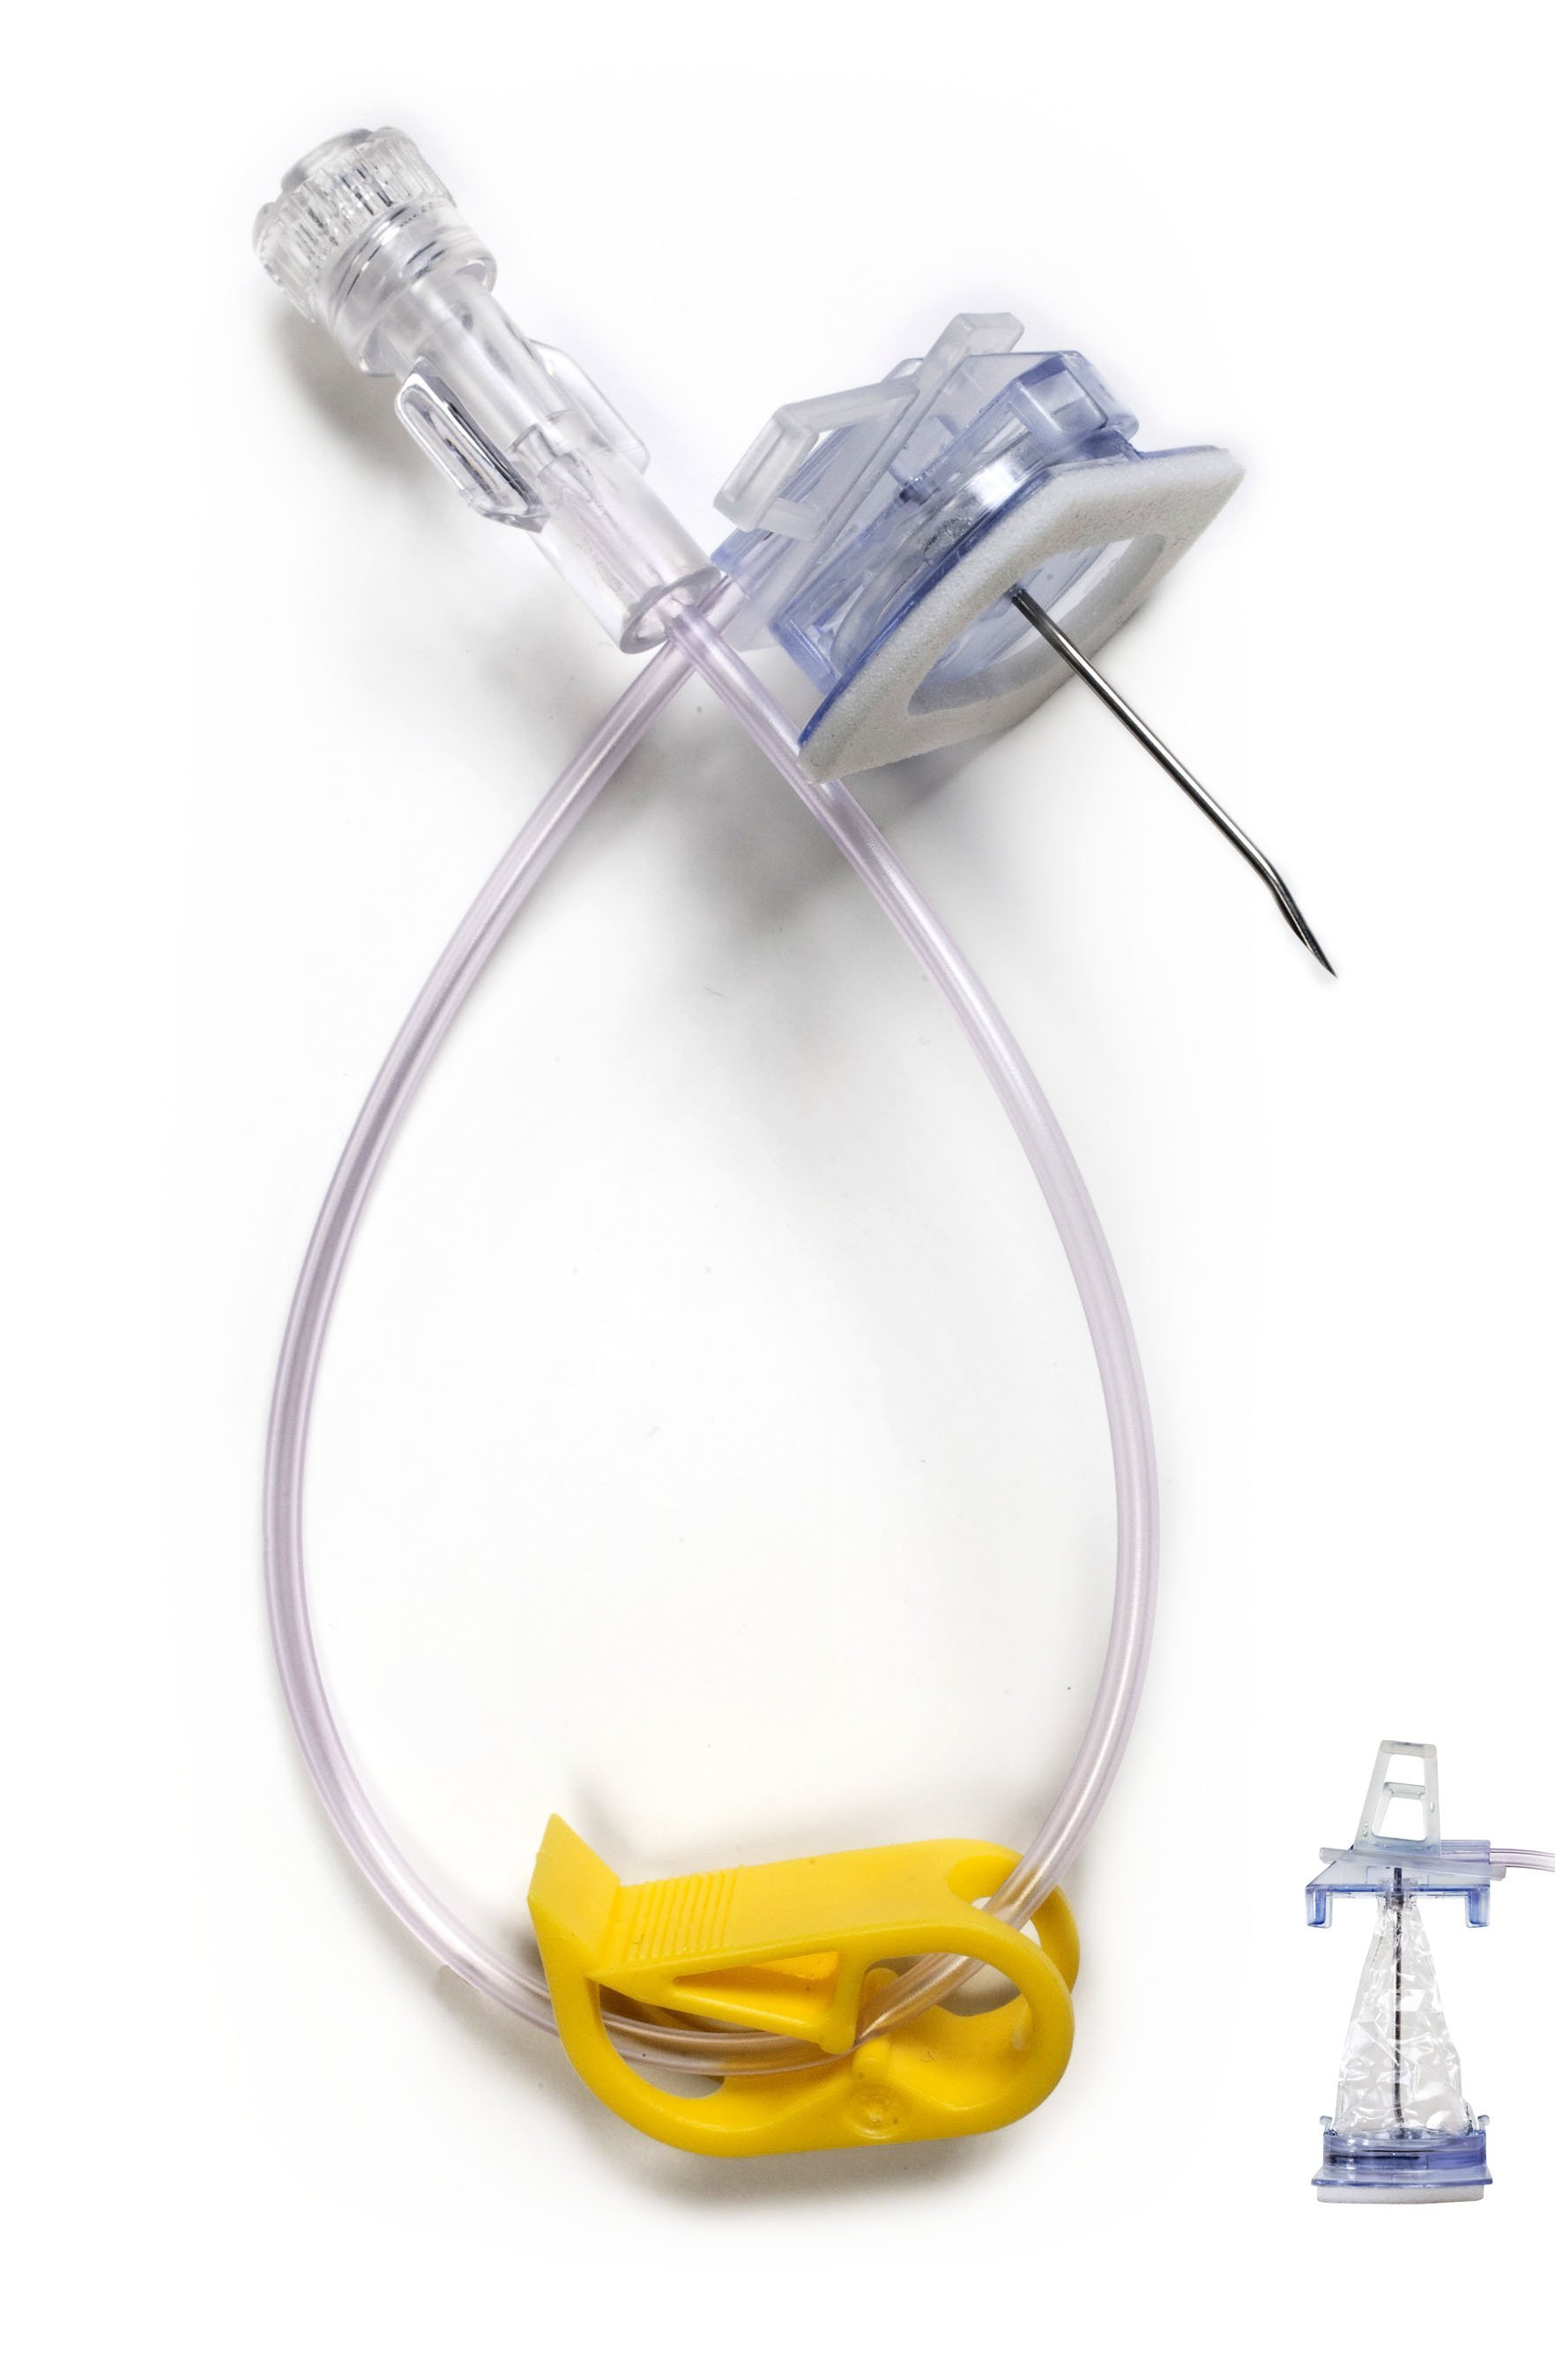
Sheath Needles
Metal needle and outer plastic sheath/catheter. Can remove needle after placement with sheath remaining behind
Common uses: Access to fluid collections (e.g. paracentesis or abscess)
Sheathed Chiba for access to the renal collecting system
Yueh needle, a thin walled, bevel tip needle with tapered catheter with multiple side holes near the tip, often used for paracentesis

Other Needles
Huber needle - long bevel tip, thin wall with 90* angle for port access
Veress needle - spring loaded blunt tip that retracts into sharp cutting edge when not meeting resistance, often used for access into the peritoneal space

Vascular Access
Common Femoral Arterial Access
Large easily accessible vessel which can accommodate larger devices
Access should be above the common femoral bifurcation at the level of the femoral head to allow compression of the vessel against a bony structure.
Avoid traversing the inguinal ligament as passing a sheath through the ligament can be difficult.
Ensure you are not accessing above the femoral head as the superior aspect of the vessel is within the retroperitoneal space and if bleeding were to occur here it would go undetected until a large amount of blood loss has occurred.

A = Inguinal Ligament
B = Inferior Epigastric Artery
Ideally access along a portion of the artery with little to no atherosclerosis as you can dislodge plaque and cause embolism with your access. Additionally atherosclerosis may interfere with your closure device.
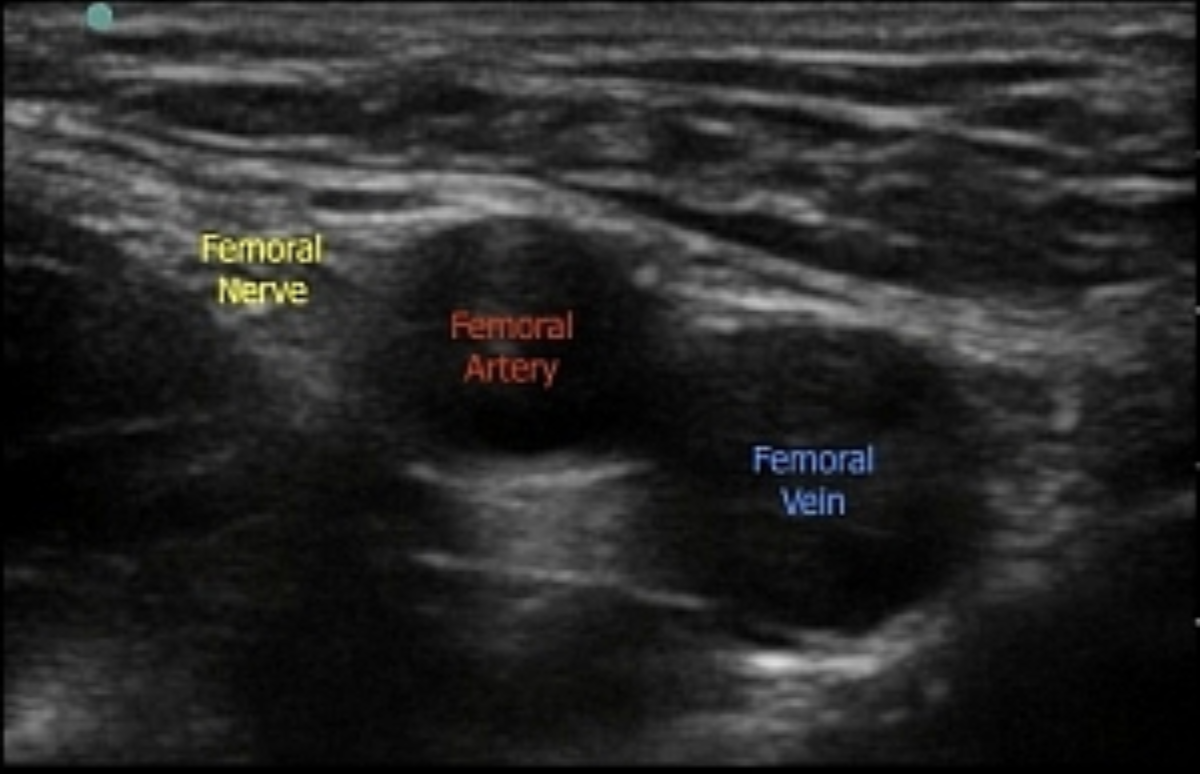
Avoid the femoral nerve, generally located lateral to the artery.
Avoid through and through access especially if the vein is posterior to the artery as you may cause an AVF.
Access Technique
Evaluate the vessel with ultrasound. Determine a safe location for access based on the above information. Identify the take-off of the deep femoral artery and ensure you access into the artery is about 10-15 mm above that, which should correlate to approximately the middle of the femoral head as seen on fluoroscopy.
Evaluate the depth of the vessel. General rule of thumb: however deep the vessel is, is how far back your skin entry site will be from the probe with the needle at a 45 degree angle. Example: the vessel is 2 cm deep, place skin entry site 2 cm from the probe with needle at a 45 degree angle.
If the vessel is very superficial, decrease your angle (30 degrees) and start far enough back to allow for a soft tissue tract length that will accommodate a closure device without sticking out of the skin (approximately 1-2 cm).
Let the patient know they will fell “a pinch and a burn that lasts about 10 seconds”, Anesthetize the skin and soft tissue with 1% lidocaine. When the needle is just out of the skin, flush the needle with a small amount of lidocaine to remove any blood in the needle, just in case someone gets “stuck” with the needle, as hollow needles with blood inside them have a MUCH higher viral transmission rate.
Make a small incision and spread/blunt dissect the soft tissue to the level of the vessel. Note, some practitioners first access the vessel, and after the wire is in place, makes the incision down the barrel of the needle
Access vessel with micropuncture needle. Ensure needle tip in centered within the lumen. You should get bright red blood that drips out of the hub quickly. If it is dark red blood and a slow drip, you are likely in the vein.
Advance microwire through needle. Do not advance wire if resistance is felt. If there is resistance, stop advancing the wire and look with fluoro on what is happening. Sometimes you feel the transition of the floopy part of the wire to the stiff portion of the wire. To relieve the tension, you can flatten the needle entry by 20-30 degrees and gently push the wire under fluoro to see if it will go. But if any resistance, stop, and slowly retract the wire out of the needle and then the needle out of the patient.remove everything and start again.
Pin pull needle off microwire, advance transitional dilator over the wire. Remove microwire and inner dilator.
Advance 0.35” wire through outer micropuncture sheath. Check with fluoro that the wire is in the common iliac artery or the aorta. Ensure that it is not in the inferior epigastric or deep circumflex artery. Remove outer sheath and place desired sheath for the procedure. Our preference is to use a Bentson wire, not the J-wire that comes with the sheath

Perform angiogram at 30 degrees ipsilateral view to ensure appropriate access.

Closure Devices
Good technique to check status of the dorsalis pedis and posterior tibial pulses prior to and after achieving hemostasis.
Manual compression - Rule of thumb is 3 minutes of compression per one French size. So if removing a 5 Fr sheath you need to hold for 15 mins (3 mins x 5 Fr = 15 mins).
Closure devices decrease time to hemostasis and necessary bedrest after achieving hemostasis from 4-6 hours to 2 hours. Some centers will even ambulate at 30 mins - 1 hour with a closure device.
Not good for vessels <5 mm or those with significant atherosclerosis. May require additional manual compression in up to 5-10% of patients.
Popular Devices:
MYNX CONTROL (Cordis) - Nothing permanent left behind. Nothing within the vessel itself. Can have higher rates of post closure bleed/hematoma. Avoid in coagulopathic patients.

ANGIO-SEAL (Terumo) - Leaves behind a foot plate within the vessel. Low risk of foot plate embolization and subsequent lower extremity ischemia. Less prone to failure than other devices so some prefer this device in coagulopathic patients.

StarClose SE (Abbott) - Leaves a small plastic/metal clip on the outside of the vessel. Require good dissection around access sheath down to the vessel for successful deployment. Can be difficult to reassess at this exact location. Avoid in patients who may need multiple access.

Perclose ProGlide (Abbott) - Leaves a small suture behind. Can be used for “PreClose technique” for larger sheath access up to 24 Fr. Two or more Perclose devices are deployed at the beginning of the procedure 45* to each other. At the end, the sheath dilator is inserted and one operator slowly removes the sheath over a guidewire while the another secures the knot pushers. The wire access allows the sheath to be reinserted if necessary.

Radial and other arterial Access
Benefit of no post procedure bed rest
Downsides: smaller vessel that is more difficult to access, prone to spasm, and longer course to intra-abdominal structures and lower extremities.
Ensure your catheters are long enough to reach desired area
Must have hydrophilic low profile sheaths and catheters or they can become stuck
After access, you need to inject a “radial cocktail” mixed 1:1 with patient’s blood (e.g. 2.5 mg verapamil, 200 mcg nitroglycerin, 3000-5000 U heparin)
Closure via pressure bracelet, e.g., TR BAND (Terumo).
Inflate with 15 mL air, remove sheath, slowly deflate until bleeding, reinflate 2 mL.
Leave on 45 min, removing 3 mL air every 15 min. Others leave on only 20 min, removing 3 mL air every 5 min.
Shorter options: Leave on at full volume only 20 min, then remove 3 mL air every 5 min. If bleeding occurs, re-insufflate until bleeding stops, leave up for 10 additional minutes then again attempt to remove 3 mL every 5 minutes. Repeat insufflation as needed.
Tibial - similar to radial in technique and limitations
Other peripheral - carotid, brachial, etc all riskier but possible. E.g. 0.5% stroke and peripheral nerve injury risk reported with axillary or high brachial access.
Translumbar aortic access - Rarely used today. Can be high aiming towards T12 or low aiming for L3.
Venous Access
Same access technique as arterial access
Often the vessels are larger and can accommodate larger sheaths.
Common sites of access include the internal jugular, common femoral, popliteal, posterior tibial, cephalic, and basilic veins.
No need for preclose technique for larger sheaths as it is a low pressure system though there is now a venous Mynx closure device and some do use the Perclose system.
Closure often requires only a few minutes of manual compression but can require other techniques if coagulopathic or higher pressure (e.g. dialysis fistula). Additional options include the “Woggle” technique (below), thrombogenic dressing (e.g. D-STAT or StatSeal), or placing an absorbable stitch.

Translumbar IVC access - rarely used, similar to low translumbar aortic access but approaching from the right rather than the left.

Portal Venous Access
Transjugular - access is obtained the same as placing a TIPS where one obtains internal jugular access and passes a needle through a stiff cannula and sheath from a systemic vein to a portal vein (often right hepatic to right portal). The advantage is less bleeding risk and can place a TIPS at the end if needed.
Transhepatic - a peripheral portal venous branch is accessed under ultrasound guidance. Has higher bleeding risk. Access track is often closed via careful placement of Gelfoam pledgets and/or coils or glue. Often easier than transjugular access.
Transsplenic - a central splenic vein branch is accessed under ultrasound guidance, selecting a branch with straightest course towards the splenic vein. Often used when portal vein is occluded and attempting portal venous recanalization, particularly if chronic portal vein occlusion. Comes at the cost of higher bleeding risk requiring meticulous track embolization similar to transhepatic access.
Controversy - Probe positioning
Although multiple vascular access points can be performed without imaging guidance, it is generally accepted that using imaging guidance is safer without taking more time that is clinically significant.
Ultrasound-guided access can be performed with the vessel in cross-sectional or longitudinal views. There is likely no significant, meaningful difference between the two in terms of speed or safety, and what is most import is your comfort and experience.
The cross-sectional view allows for better view of surrounding structures and ensuring the access is in the middle of the vessel (medial to lateral) where as the longitudinal view allows for visualization of the entire needle course superficial to deep ensuring the needle tip is within the vessel and not through-and-through.
